Windows 7 USB installation
After installing and uninstalling a lot of software, I decided it was time to reinstall Windows on my desktop. I didn’t have a spare DVD, so I used a USB flash drive as the installation media.
Installing Windows 7 from a USB drive is quite fast. Here’s how I prepared the installer using Windows 7. These steps are for a PC booting in legacy BIOS mode.
Requirements
I used Windows 7 Professional SP1 x64. Its installation files occupied 3.11 GB on the USB drive.
You’ll need:
- A USB flash drive with a capacity of at least 4 GB.
- A Windows 7 ISO image or installation DVD.
- A PC running Windows 7, with administrator access.
- An archive tool that can extract ISO files, such as 7-Zip.
Back up anything you want to keep from the USB drive before starting. The steps below remove its partitions and erase its contents.
1. Prepare the USB drive
Plug in the USB drive. Click Start, type diskpart, then right-click diskpart.exe and select Run as administrator. Wait for DiskPart to load.
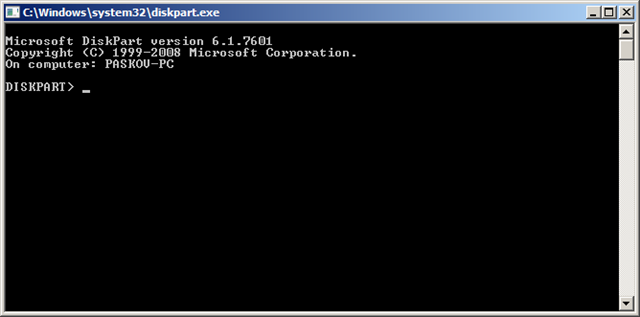
At the DISKPART> prompt, enter:
list diskIdentify your USB drive by comparing its capacity with the sizes in the list. In my example, the USB drive was Disk 3.
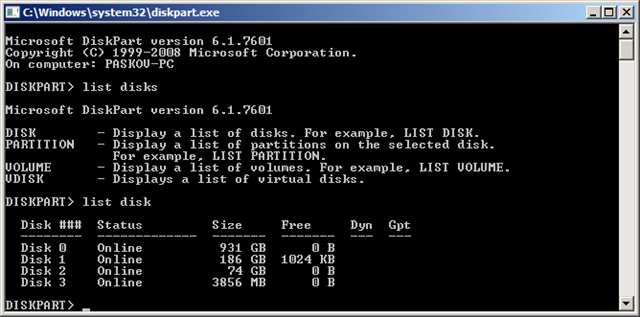
Select the USB drive, replacing # with its disk number:
select disk #Double-check that you have selected the USB drive before continuing. The next commands remove its existing partitions, create a new primary partition, mark it active for BIOS booting, and assign a drive letter:
clean
create partition primary
active
assign
Exit DiskPart:
exitYou can type help at the DISKPART> prompt to see the available commands.
2. Format the USB drive
Open Computer, right-click the USB drive, and select Format…. Choose NTFS as the file system. Clear Quick Format if you want a full format, then click Start.
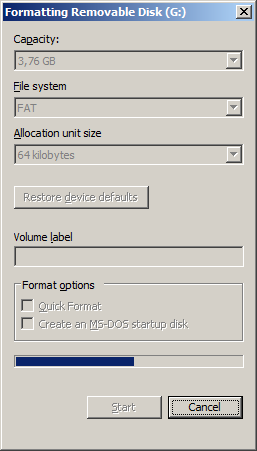
The original screenshot shows FAT selected; choose NTFS for these steps.
Depending on the drive’s size and speed, formatting may take some time. Wait for it to finish before copying the installation files.
3. Copy the Windows 7 installation files
Extract the Windows 7 ISO image to a folder of your choice. With 7-Zip, right-click the .iso file and select 7-Zip > Extract files….
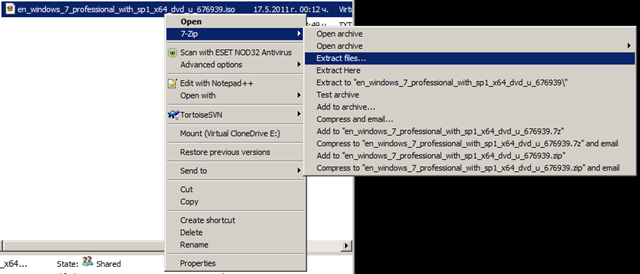
Copy the contents of the extracted folder to the root of the USB drive. Copy the files and folders inside it, rather than the enclosing folder or the ISO file itself.
If you’re using an installation DVD, copy its contents directly to the root of the USB drive.
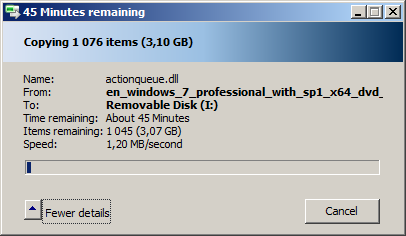
Once copying finishes, restart your computer and select the USB drive as the boot device. Then install Windows 7 as usual.
Related Posts
2009-02-02